by Eli Fournier
Drive around town these days, and you’ll notice mountain bikes hanging off vehicles left and right. Who are these people and where are they going, you ask? Well, turns out these folks are part of a flourishing and growing mountain-bike scene here in Bozeman—one well worth partaking in. Mountain biking can be expensive to get into (as with any outdoor sport), but once you have the basic gear, the options are endless. Here’s a rundown on local singletrack.
Where to Go
For a newbie, there are miles of trails in and around town that make for easy between-class or after-work excursions. For a classic ride, hop on the Gallagator to Peets Hill. Once atop, take a connector trail east to Highland Glen, and then turn south on the Painted Hills singletrack toward the Gallatin Range. The trail rolls and flows for a couple miles, eventually tying in with Triple Tree—an easy lollipop loop best ridden counterclockwise. Be careful coming down on the stem of the loop, as there are a few blind corners and lots of uphill traffic from both hikers and other bikers. Head back the way you came, or on Sourdough Road.
Another short, popular ride near town is Leverich Canyon, a small drainage tucked into the foothills between Hyalite and Bozeman Creek. For an extra workout, ride South 3rd from town to the trailhead. If you drive, know that parking is limited, and the access road is surrounded by private land, so there’s no overflow parking if the lot’s full. It only holds about two dozen cars. The Leverich Loop is designed to be ridden clockwise, and the downhill is built out with some flowy jumps and turns.
Once you’ve got a handful of riding days under your belt, test your endurance, strength, and technical skills on the Bangtail Divide.
For something a little more challenging, but still well within the wheelhouse of an afternoon ride, look to Chestnut Mountain. To get there, hop on I-90 eastbound and take the Trail Creek exit about ten miles from town. Cross the train tracks, and park on the side of the road at the base of the mountain. Chestnut can be ridden as an out-and-back up the mountain, but the uphill is brutally steep. More popular is a loop up Trail Creek Road to the Goose Creek Trailhead, then around the backside of the mountain and down the front. It’s a challenging, 15-mile ride with several thousand feet of elevation gain and drop, but the views from up top are epic—not to mention you get a ripping downhill for the last 30 minutes of the ride. (Note: this trail is popular with hikers, runners, and dog-walkers, so be sure to slow down at blind corners and in general just be aware, mindful, and courteous.)
Once you’ve got a handful of riding days under your belt, test your endurance, strength, and technical skills on the Bangtail Divide. Park on the side of Stone Creek Road, right off Bridger Canyon. Park in a convenient and respectful spot—the landowner bordering the road filed a lawsuit against the Forest Service to cut off public access here, so try not to make things any worse than they already are. The trail begins by climbing for a couple hours on a series of switchbacks up and around Stone Creek, then flattens out as it hits the divide. The trail then turns north, running the ridge all the way to Brackett Creek. Ride the highway back for about a 25-mile loop in total, or hitchhike a ride.
Also on the east side of the Bridgers is Crosscut Mountain Sports Center, which maintains a number of mountain-bike trails in the foothills. Crosscut hosts clinics throughout the summer to hone skills like downhill riding and cornering. Practice on their mellow terrain, then take your newfound abilities to more technical mountain trails.
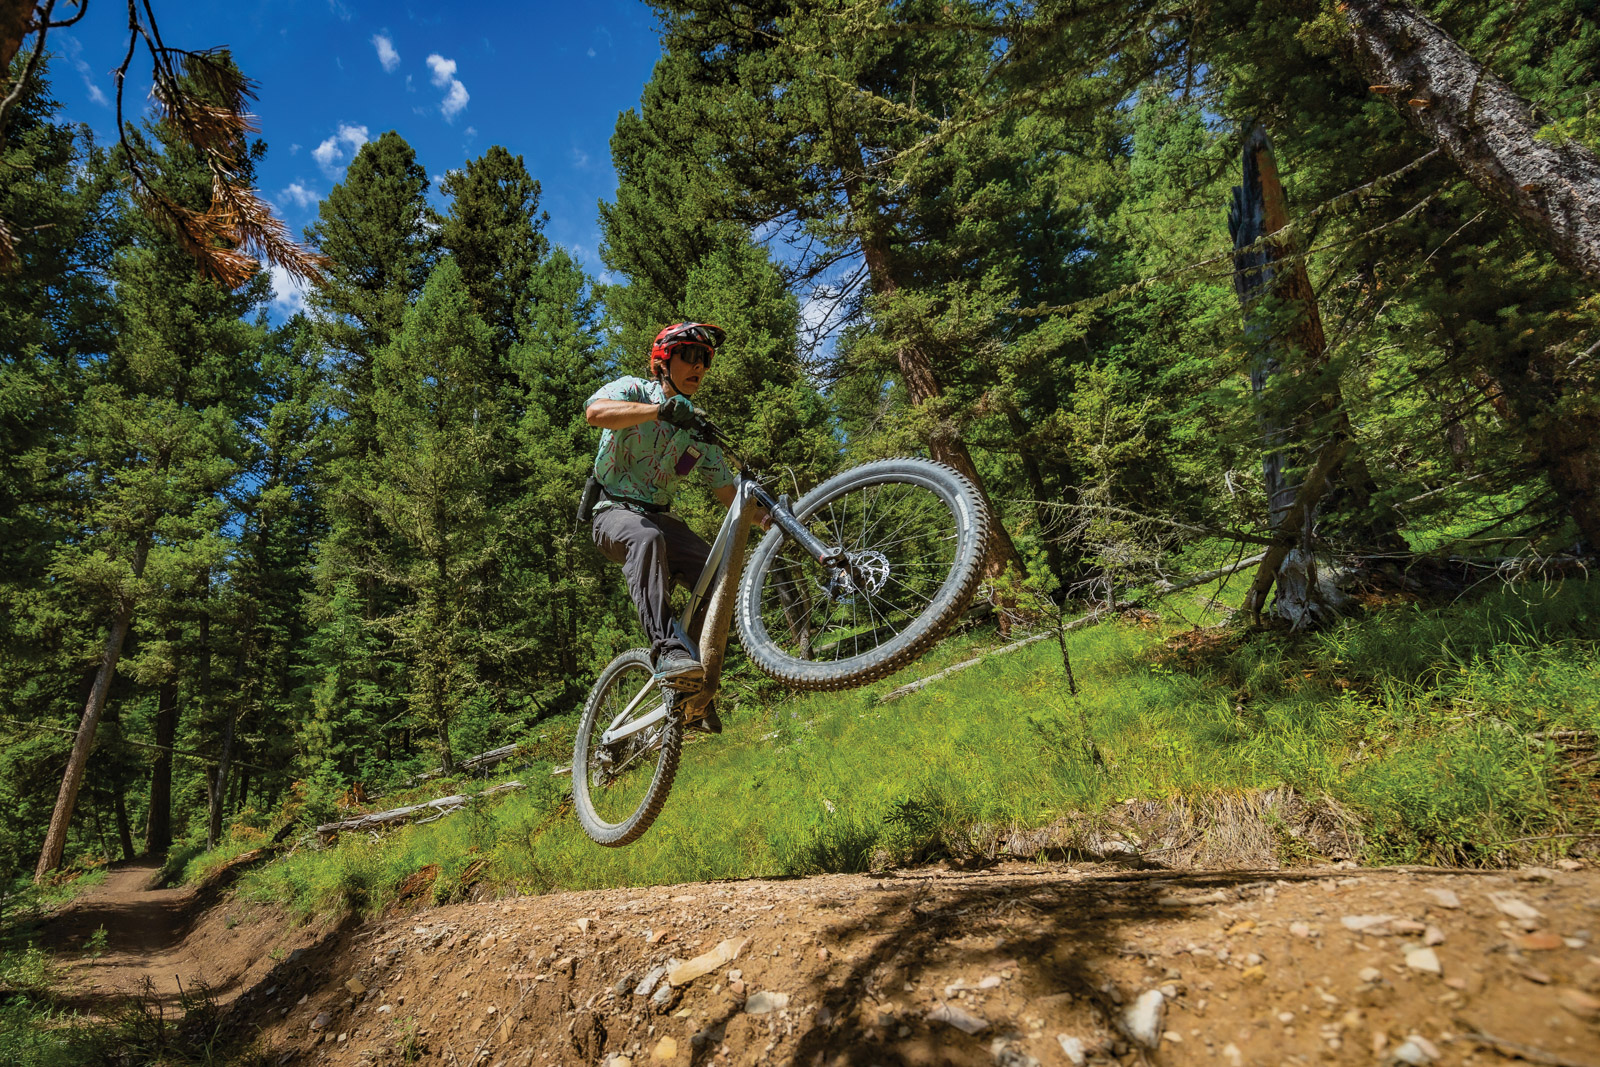
Once you’ve got a handle on the basics, it might be time for some downhill dirt. A number of ski areas in the region offer downhill, lift-accessed bike trails in the summer—including Discovery, Big Sky, and Grand Targhee. The three offer very different experiences, from the commercial feel of Big Sky to the mom-and-pop vibe at Targhee, and the small-town Montana aura of Disco. What doesn’t change, however, is the risk of downhill riding. It’s dangerous—no two ways about it. Consider a full-face helmet, knee & elbow pads, and even chest pads if you’re serious about sending big lines. Check your bike thoroughly beforehand, too. Ensure your wheel hubs are tight, brakes are bled, pads are fresh, and shocks are lubed. Downhill riding can be an exhilarating, scary, skill-building experience.

Essential Gear
Mountain biking ain’t a cheap sport. First, there’s the initial investment in a bike. If you’re just getting into it, look at hardtails, which only have front suspension. They’re great to learn and hone your skills on, but if you stick with it, you’ll almost certainly want to upgrade to a full-suspension bike at some point. These more-expensive options typically have beefier suspension in the front fork, and an additional shock built into the frame to absorb hits to the back wheel. They’re a much smoother ride, and are capable of things that you really can’t do—or at least do well—on a hardtail.
In addition to a bike, you’ll need shoes, which come in the “flat” and “clipless” varieties. Flats are normal shoes, and a lot of people just ride in Vans or street shoes with flat soles. Flats allow you to bail off the bike quickly, if need be. They’re great to learn on, and lots of expert riders swear by flats. On the other hand, clipless pedals (which is a bit of a misnomer), secure your feet to the pedals with a mechanical mechanism, and give you power on up- and down-strokes. They’re preferred by lots of endurance riders and racers, but are certainly a bit challenging to learn on. You’ll fall over a handful of times before figuring out how to quickly release your shoes from the pedals.
You’ll also need a brain bucket. Remember, helmets are one-and-done, meaning if you take a big hit, you need to throw it away and buy a new one to fully protect your noggin. Don’t cut corners here—it’s not worth the risk. Also useful, but not necessary, is a hydration pack. Hip packs are the most comfortable to ride with as they put the weight on your lower back instead of your shoulders; but backpacks are fine, too. Finally, bring along a patch kit, packable pump, and spare innertube.
Etiquette
Let’s keep this short and simple. According to the rules, downhill bike traffic yields to uphill traffic, and bikes yield to both pedestrians and horses. However, if you ask politely or give a friendly “on your left,” most hikers will clear the trail for you. It’s often easier for them to step off to the side than for a biker to drag his bike off the trail. Be friendly to other riders, and offer assistance if you come across a rider with a flat tire or mechanical problem. It’ll come back around when you inevitably need help at some point down the trail.

